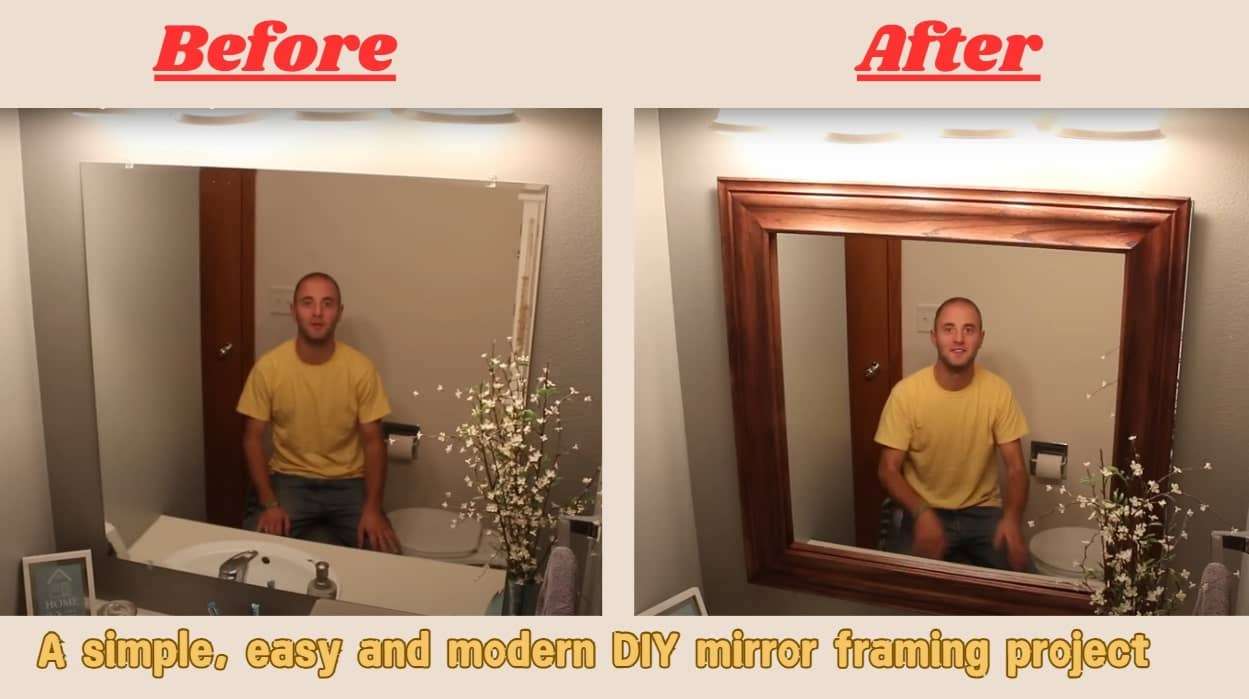
If you bought a frameless mirror or already have a framed mirror, now you want to change its frame from a wooden material but don’t know how to make a wooden mirror frame by yourself, Don’t worry this article will help you create a mirror frame with wood that will be sustainable, long-lasting, and provide a stylish and modern look to your space.
A famous interior design expert Kelly Wearstler once said, “A mirror without a frame is like a soul without a body”. Basically, a mirror is not only a reflective surface; it is an essential design element in any space and the frame of a mirror plays an essential role in enhancing its aesthetic value and functional appeal.
In this article, you will explore the latest techniques for making a wooden frame for your mirror. This technique of frame building is cost-efficient, easy to do, and will take very little time to build. So without taking too much time, let’s come directly to the point.
How to Build a Wooden Frame? (a step-by-step guide)
Before we start working on the project, The very first thing that we need to do is create a list of materials and tools required to complete the project successfully. Relax, these materials are cheap and tools are easily available to you. Here is the list of Materials and tools that will be required:
Materials Needed:
- Wood: Choose the type of wood based on your desired look (e.g., pine, oak, walnut, or maple).
- Mirror: Pre-cut mirror glass or a custom size.
- Miter saw or hand saw: For cutting wood pieces.
- Measuring tape: Accurate measurements are crucial.
- Wood glue: For joining the wood pieces.
- Clamps: To hold glued pieces together.
- Wood stain or paint: For finishing the frame.
- Sandpaper (120-220 grit): To smooth the wood.
- Backing board: Plywood or hardboard for the mirror’s back.
Tools Needed:
- Miter saw (preferred) or hand saw: For accurate corner cuts.
- Chisel (optional): For decorative notches.
- Drill and driver bits: For screws.
- Paintbrush or rag: To apply stain or paint.
- Pencil: For marking measurements.
- Safety gear: Goggles, dust mask, and gloves.
Choose a Perfect Wood as a Frame Material
Which type of wood you are choosing as your mirror frame is crucial. Before selecting wood for a mirror frame, you should consider the wood’s durability, grain pattern, color, and finish. Also, try to match the wood type to the room’s style, and ensure it complements the mirror’s size and the overall décor.
According to experts, For mirror or picture frames, hardwoods like oak, walnut, and maple are excellent choices due to their durability, cost-effectiveness, and rich grain patterns. So you can choose any of them according to the availability.
Select the Style and Design of the frame Wood
Once you decided which type of wood you will opt for your mirror frame, go to the nearest shop to buy a wood crown molding for the frame. There will be a various style and designs available, you just need to choose any of them according to your preference and your space decor.
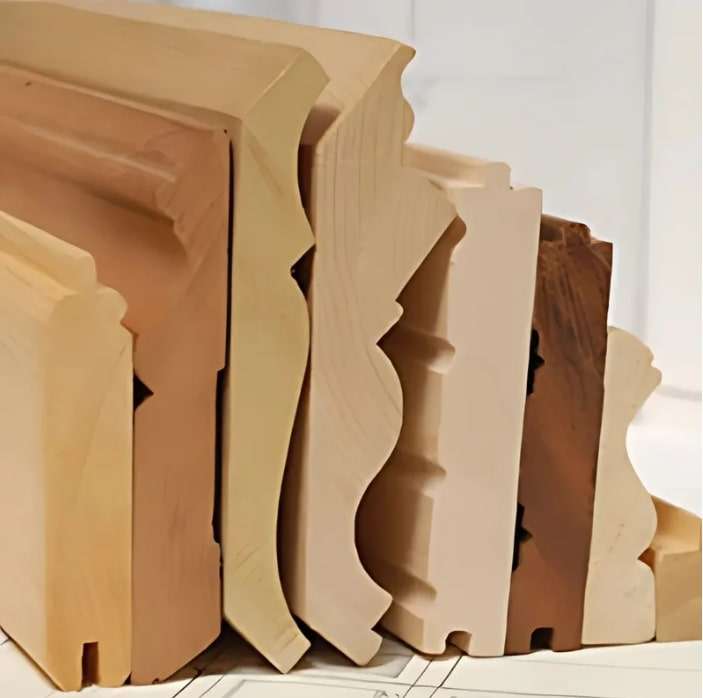
When you buy this strip, firstly, you should measure the circumference with the help of measuring tape and the strip should be a little bit longer than its circumference.
Cut the Stock Crown Molding into Four Pieces
Now, If you have a Miter saw machine then cut it into four pieces, two pieces should be equal to the length of the mirror, and the rest of them should be equal to the breadth of the mirror. When you cut the moldings, you have to cut it at a 45-degree angle.
Make sure that the cutting is accurate because if the parts are not exactly the same length the frame will not be in the perfect shape.
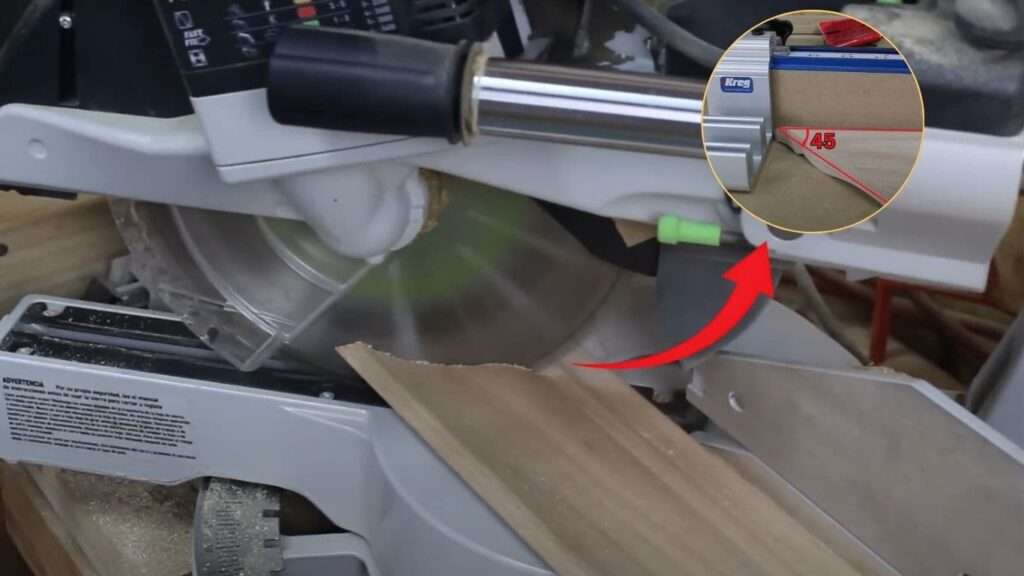
But if you don’t have a miter saw machine you can go to a local big-box store nearest to you or you can also cut it into four pieces from where you bought this molding.
Make Holes And attach All Wooden Strips
After cutting the stock crone moldings into four pieces, Now’s time to make holes for creating loose tenon joinery using Festool Domino into them. You don’t need expensive tools for this, you can also use the biscuit joiner, dowels, or even a regular butt joint. This step will provide extra strength to your frame and ensure the miter will stay gap-free, which will increase the durability of the frame.
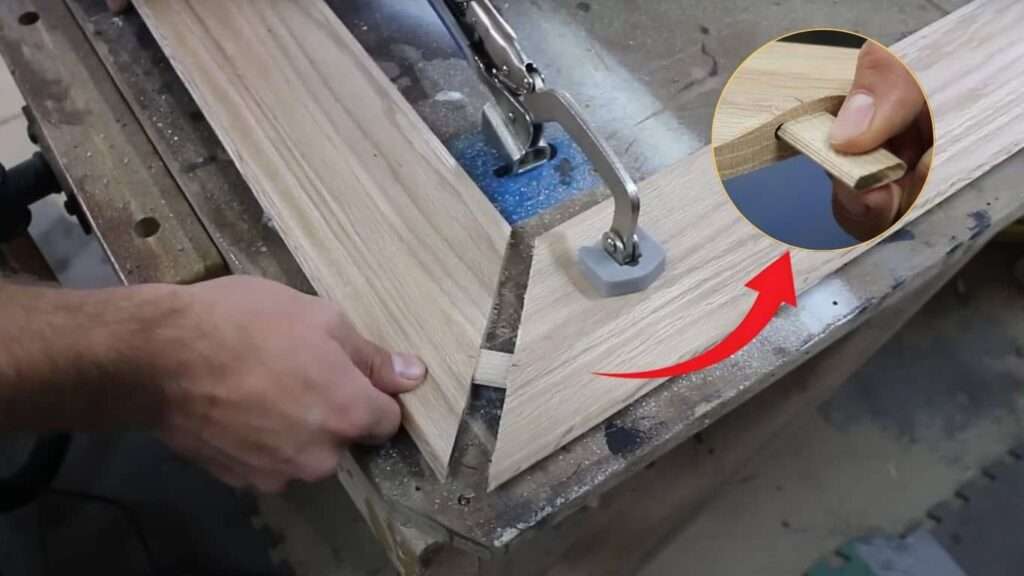
If the strip is not filled properly, you can use the appropriate wood filler to make it perfectly fit.
Also, Use Glue to Attach the Ends of the Strip
Once you make holes in the ends of the strips, Use models and also glue to attach the ends of the strips perfectly. PVA Wood Glue, Polyurethane Glue, and Hide Glue are the most commonly used glues in any DIY project related to wood. You can use any of them.
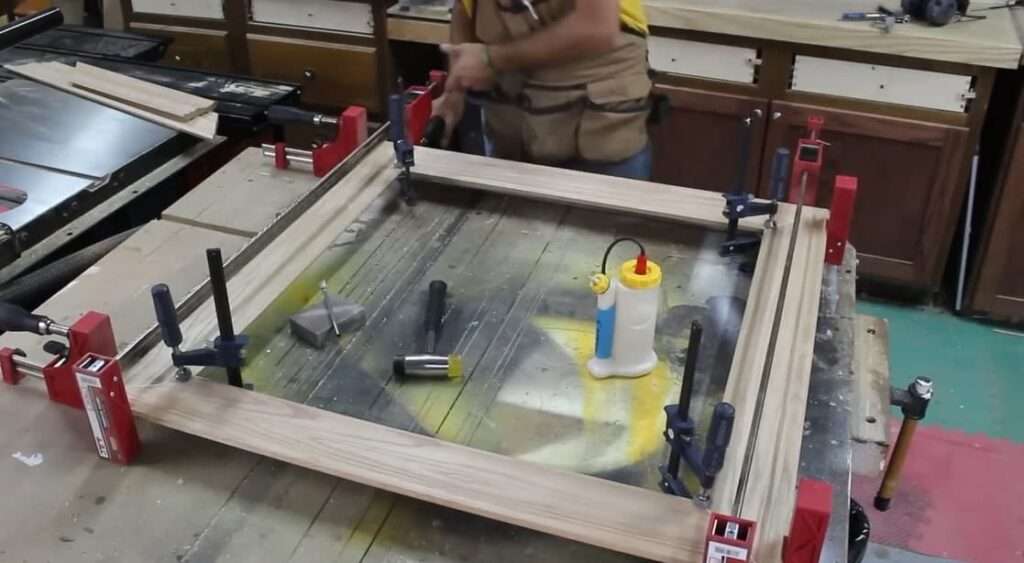
Fix the frame tightly Using Clamps
It is very important to keep the frame undisturbed until the glue has dried properly. Tighten the joints of the frame using clamps and let it rest for a while. Ideally, you should leave the frame undisturbed for 3 to 4 hours for the best results. This step is crucial because the glue needs time to dry, and it will be less effective if it hasn’t dried properly.
Use Sandpaper to remove the Unwanted Particles
After 3 to 4 hours when the glue dries up properly, remove the clamps and ensure all the gaps are filled properly. Now, using sandpaper remove unwanted particles from the frame. This step is essential because it helps in achieving a smooth and clean surface on wood.
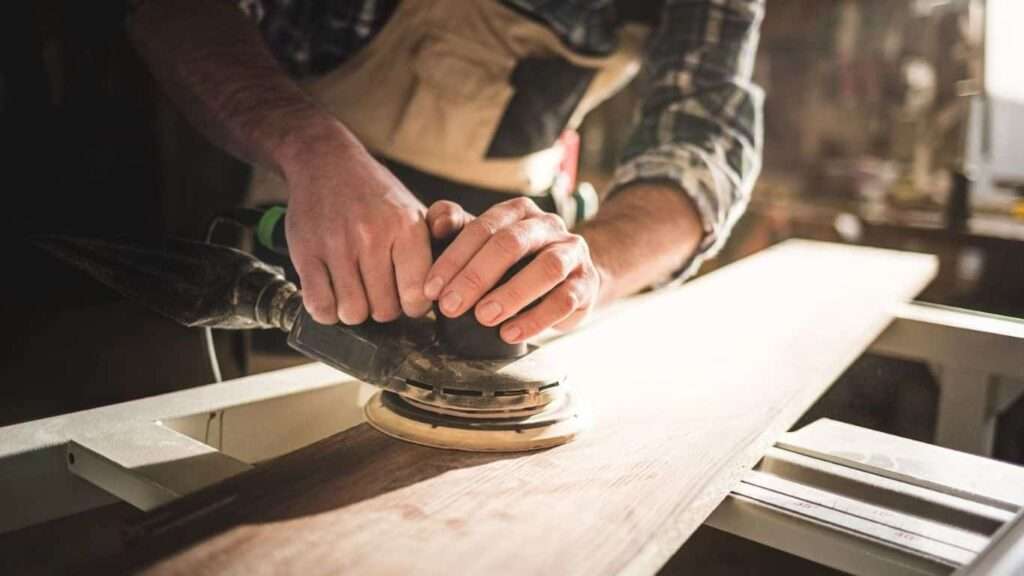
To achieve a smooth finish, start sanding the wood with coarse-grit sandpaper (80-120 grit) to remove rough spots and imperfections. Gradually progress to medium (150-180 grit) and then fine-grit sandpaper (220-320 grit) for a polished surface. Always sand in the direction of the wood grain to avoid scratches.
Polish and Finish the Frame
For finishing and polishing, there are several options:
- Staining: Enhances the wood’s natural grain and adds color. Apply the stain evenly with a cloth or brush, then wipe off the excess.
- Painting: Offers a variety of colors and styles for a more customized look. Use a primer before applying paint for better adhesion.
- Clear Coat (e.g., varnish, polyurethane): Provides a protective layer that maintains the wood’s natural appearance. It can add gloss, satin, or matte finish depending on the chosen product.
These three options are the most commonly used method of polishing the wood, you can go through any of them according to your preference.
Attach the Mirror With the Frame
You have done 90 percent of the work of your DIY mirror framing project. Now, you just need to attach the mirror to the frame you have made. for this process, you can use high-quality double-sided tape and a strong adhesive to improve the stability. Although double-sided tape is enough, you can also use any adhesive to attach the mirror to the frame for self-satisfaction.
This DIY project is one of the simplest and easiest ways to make a mirror frame. It doesn’t require a lot of time or effort—just build a frame and attach it to the mirror. The main focus of this project is to enhance the decor, rather than to provide heavy protection for the mirror.
FAQs
Can I make my own mirror frame?
Yes, you can definitely make your own mirror frame! It’s a simple DIY project that requires basic tools and materials. You just need some wood, a saw, glue, and a few other supplies to create a custom frame that can enhance your mirror’s appearance. It’s an excellent way to add a personal touch to your decor without much time or effort.
Is it expensive to frame a mirror?
Framing a mirror doesn’t have to be expensive. The cost can vary depending on the materials and style you choose. If you use basic wood and do the work yourself, it can be quite affordable, usually ranging from $20 to $50 for DIY. However, if you opt for high-quality wood, custom designs, or professional framing services, the price can go up significantly, potentially reaching $100 or more. DIY framing is a budget-friendly option to customize your mirror while keeping costs low.
How long does it take to make a DIY wood-framed mirror?
The time it takes to make a DIY wood-framed mirror will vary based on your experience and the complexity of the design. Generally, you can expect to spend anywhere from 2 to 5 hours on the project. This includes measuring and cutting the wood, assembling the frame, applying any finishes, and allowing time for the glue or paint to dry. If you’re new to woodworking, it might take a little longer, but it’s a manageable project that can be completed in one afternoon!
What kind of wood do you use to frame a mirror?
For this project, I used walnut wood, which is a great choice due to its rich color and beautiful grain patterns. Walnut is not only durable but also adds a touch of elegance to the frame. Other popular options include oak, pine, and maple, each offering unique aesthetics and strengths.

